ARC RRT
experiments with rapidly exploring random trees (RRT)
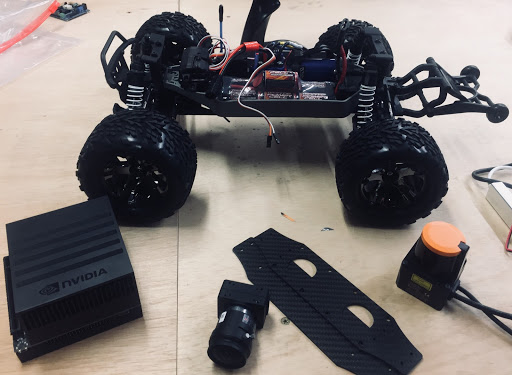 When I first joined the Autonomous Robotics Club of Purdue as a freshman, I began working on a project to explore unknown environments using Rapidly Exploring Random Trees (RRT). We were modifying a large RC car to be able to autonomously explore campus, developing a map as it traveled. It would use perception information to plan a route that best optimized learning new information while balancing terrain requirements for safe traversal. I independently worked on developing the algorithm the car would use for this task.
I started exploring with RRT based methods using MATLAB. First, I developed a simple RRT algorithm to explore free and cluttered environments using a kinematic motion model for the car. Next, I looked at exploring an uncertain environment using RRT to predict information gain.
RRT Baseline
The first experiment was to use RRT to find a suitable path from a starting location to an ending location in 2D occupancy grid. This was largely for my own education, learning how RRT functions by implementing the algorithm myself.
RRT generates a tree by starting at an initial location, then adding potential future states by simulating control inputs. The basic algorithm for RRT is as follows:
For K times:
    - sample a random free position in the occupancy grid
    - find the nearest existing state in the tree
    - determine a control input to move from the existing state to the randomly generated position
    - create a new state by applying control input to the existing state for some delta time or length
    - create an edge between the existing (parent) and new state (child), saving the control input
Once a tree of suitable size has been made, one can find a path from the starting vertex to a desired vertex, then follow the control inputs that have been saved along the edges. This is useful for problems where the environment is cluttered, and directly planning a path from the start to end location is too complex, or if the dynamics of the vehicle are too complex to be able to directly plan a path.
My algorithm was slightly different in that the control vector was randomly sampled. This was mainly due to my limited ability at the time to determine a suitable control input, and to see how the algorithm would behave.
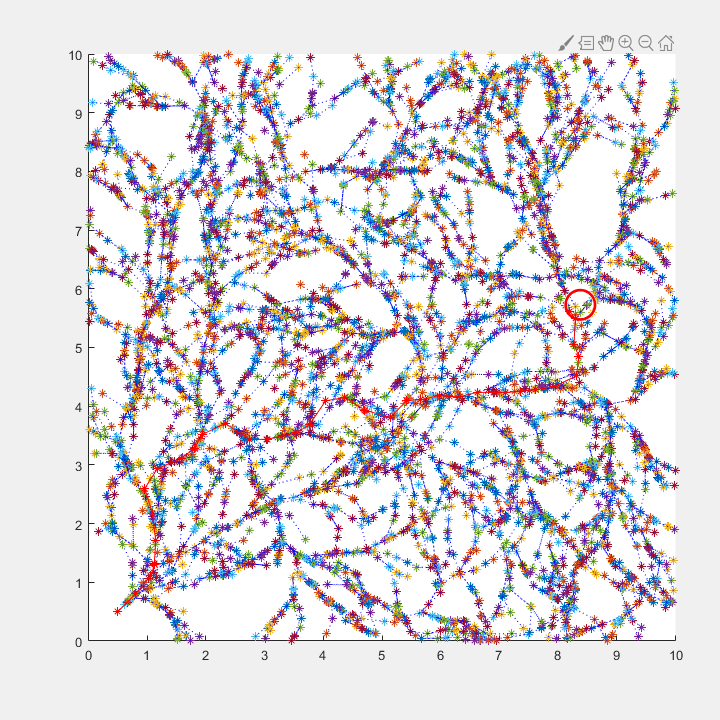
Initially, the occupancy grid was completely free (no obstacles). You can see one example of the tree and best path (highlighted in red) below:
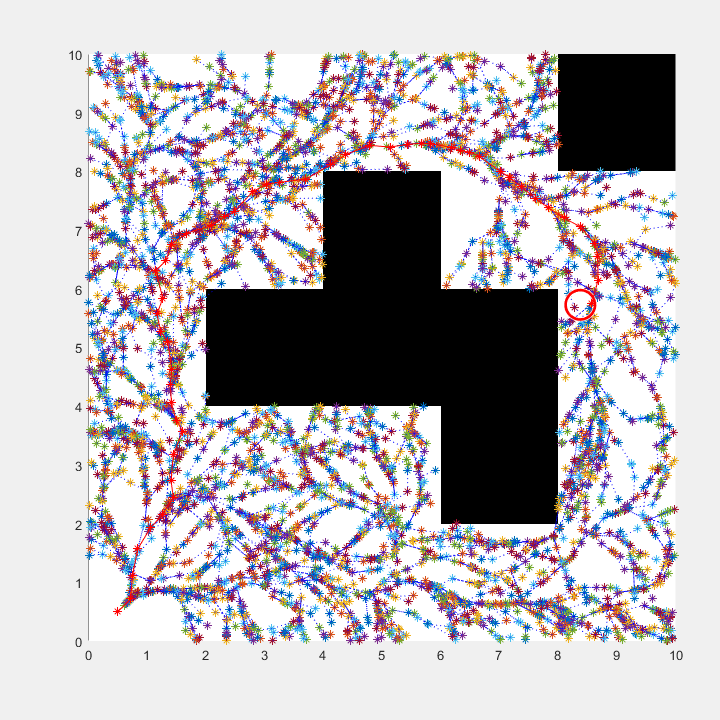
Next, I used an occupancy grid with obstacles and repeated the above tests. Here is another example of the tree and best path for that case.
You can see its performance in the below video:
RRT Exploration
Next I looked at using RRT to explore an uncertain environment.
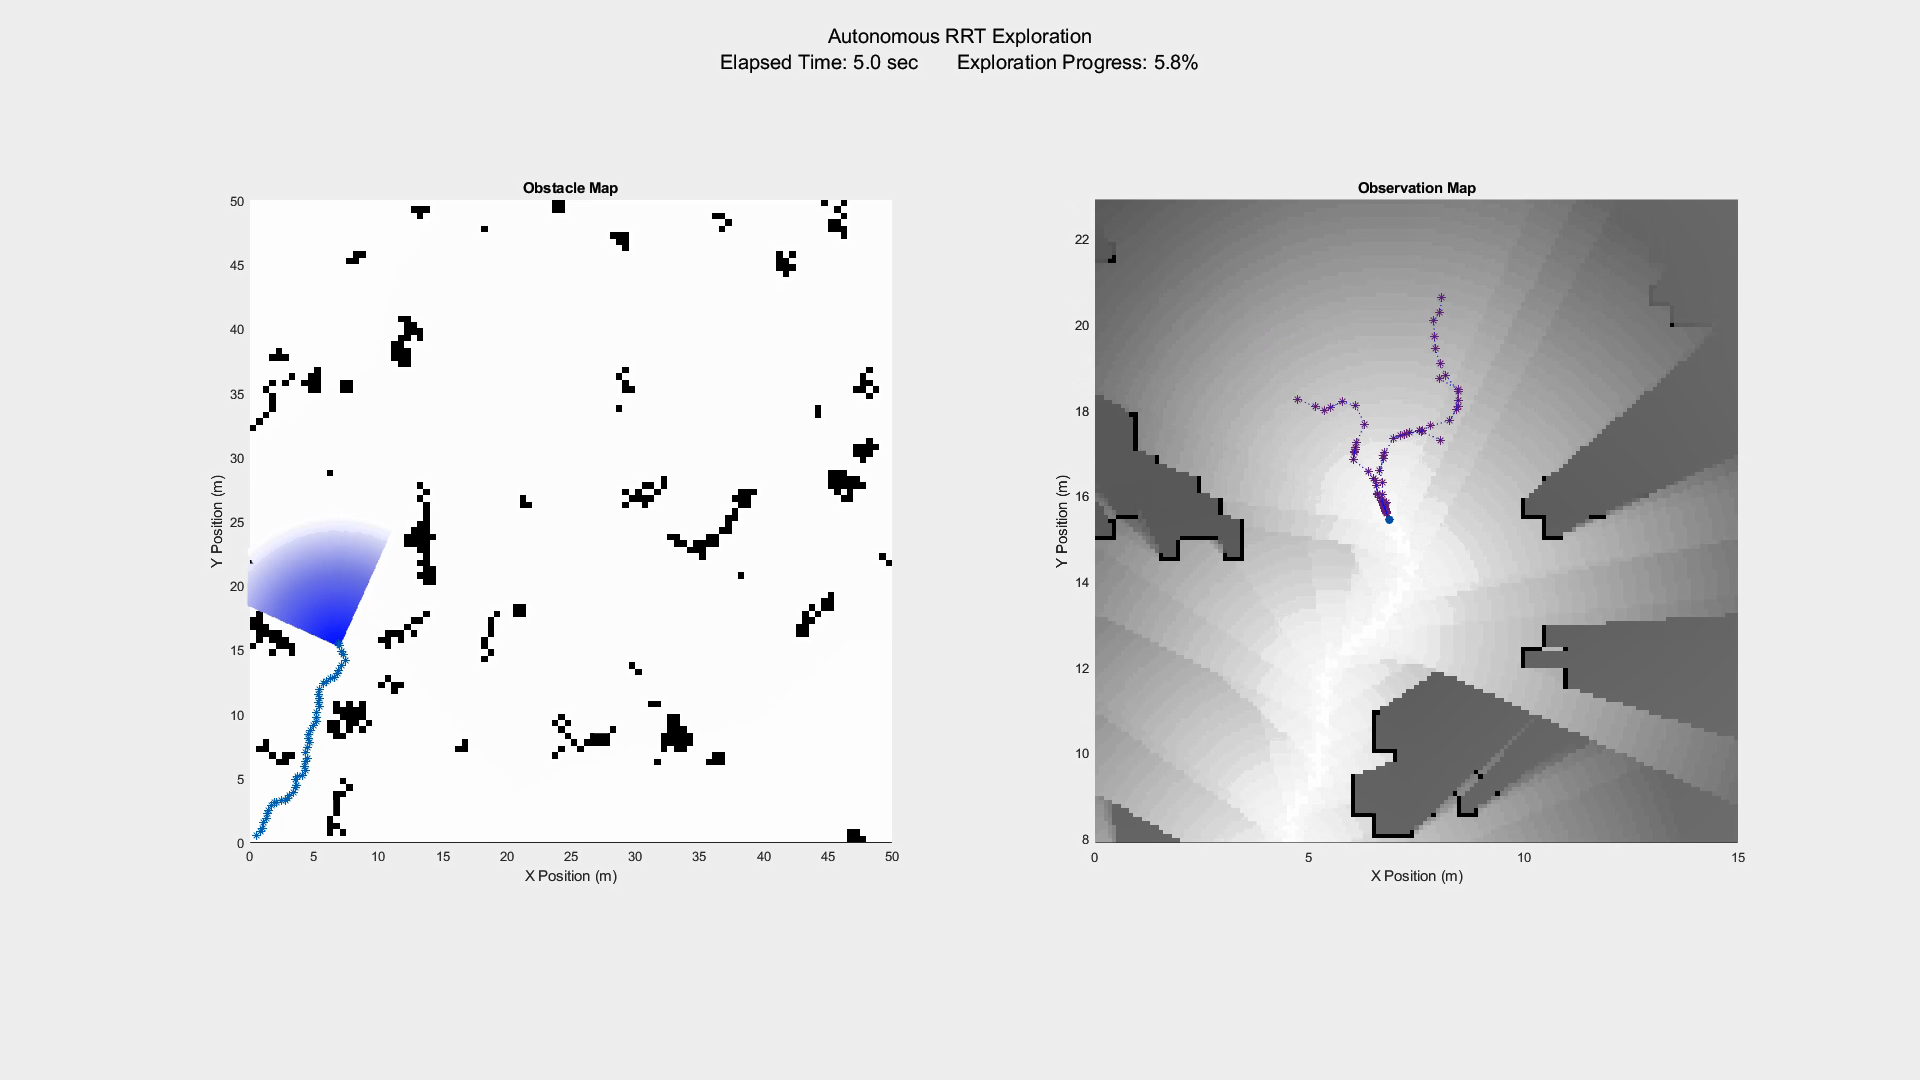
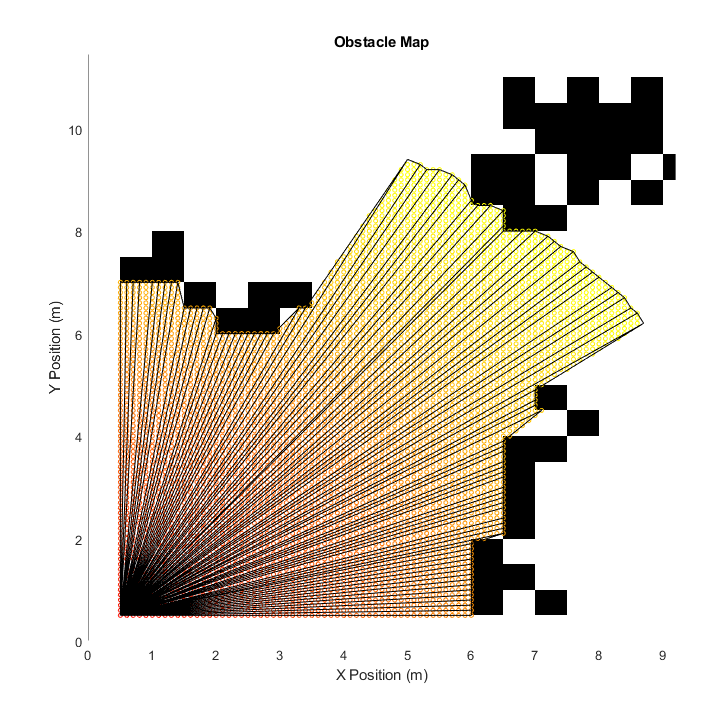 I used MATLAB to generate a much larger random occupancy grid, but kept the true state separate from the algorithm’s estimation. I also developed a “raycast” function that allowed it to sample the true occupancy grid in order to update its own estimate. Within a 2D cone of view, it determines all visible cells and the radius to them. During an update of the estimated occupancy grid, this radius is used to update the probability, such that close cells are updated to 0% or 100% exactly, and cells at the maximum radius are left at 50% probability.
The estimated occupancy grid was initialized to all cells at 50% probability of being occupied, and the raycast function was the only way to update it. It was also possible to predict information gain at a future state by comparing the estimated map to what the raycast function would return if the current estimated map was rounded to 0% and 100% cells only.
The overall exploration algorithm utilized RRT in the following way:
for M times:
    - update the estimated grid from the current position
    - develop an RRT tree from the current location with few nodes, K
    - for each leaf node, predict the information gain
    - select the leaf node with the highest information gain
    - execute the control inputs to change state to the selected leaf node
The algorithm successfully explored the unknown environment and had significant improvements over making random decisions. You can see its performance in the below video:
My code for this project can be found online here.